Putting it all together… Sort of
With the realizations I had in my last post, I went to work on a “cheap” demo/prototype, putting all (or most) of the parts together in one application.
The hardest part was to come up with a structure for the program that met my self imposed criteria of it to be as modular and therefor as extendible as possible, while at the same time to keep it neatly organized so the code base and/or the structure would be easily reusable in later projects.
I achieved the “good enough” state for my current programming-fu and of course, “future me” at some point will stumble over the garbled mess I put together and just shake his head in silent embarrassment, but that will be “future me”s problem.
The Prototype
1. What it does
Currently, the prototype starts directly into a main menu with custom background art and custom made buttons. 3 out of the 4 buttons actually do something and about halfway through, I started to go off plan and just implemented the first few scenes. Designing a GUI is neither my strong suit nor something I enjoy, so it is what it is for now.
Music Ludum Dare 28 – Track 1 by Abstraction
At the beginning of the video you see the main menu, from there I hooked the planet viewer to the “New Game” button. Clicking on it brings up the planet viewer, where one can choose a location for a landing site or generate a new one. I added experimental procedural generated names for the planets. In the planet viewer I switch to the chassis viewer, also just as a proof of concept, since the chassis selected isn’t used elsewhere for now (and they mostly look like weirdly shaped clothes irons, without wheels or anything for now).
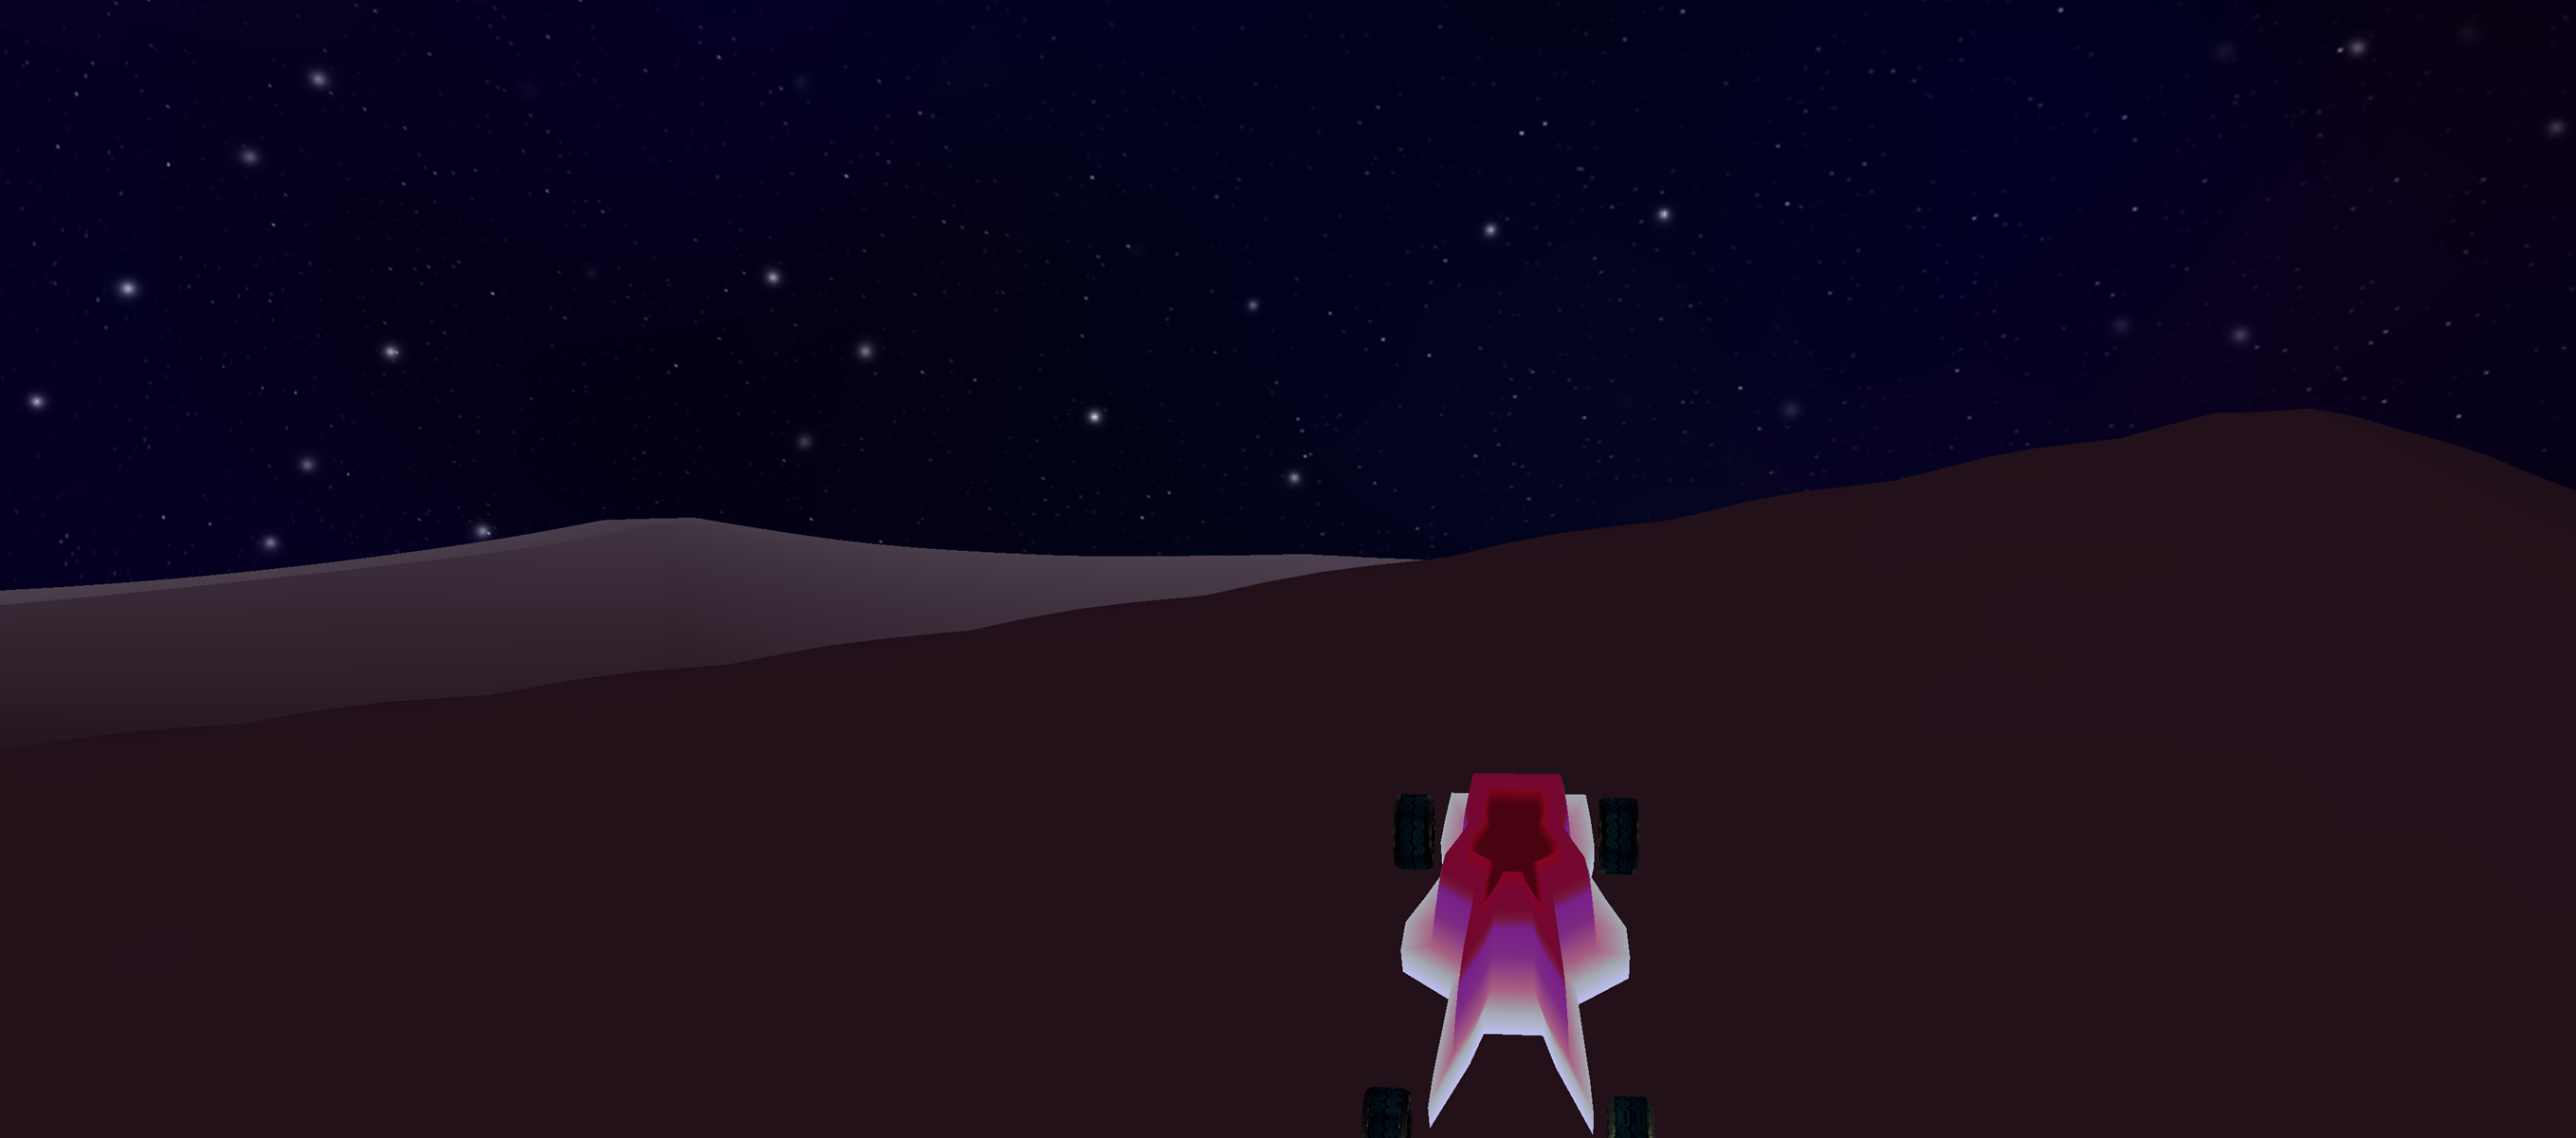
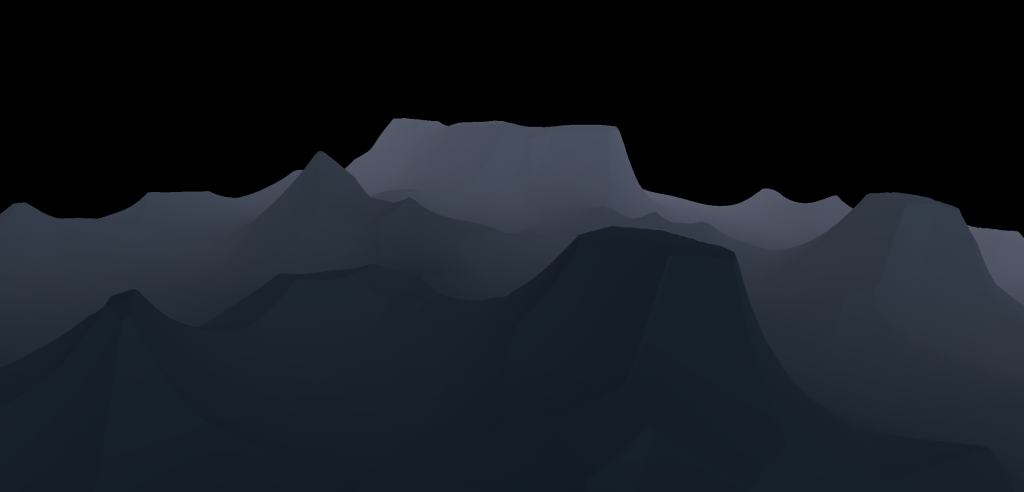
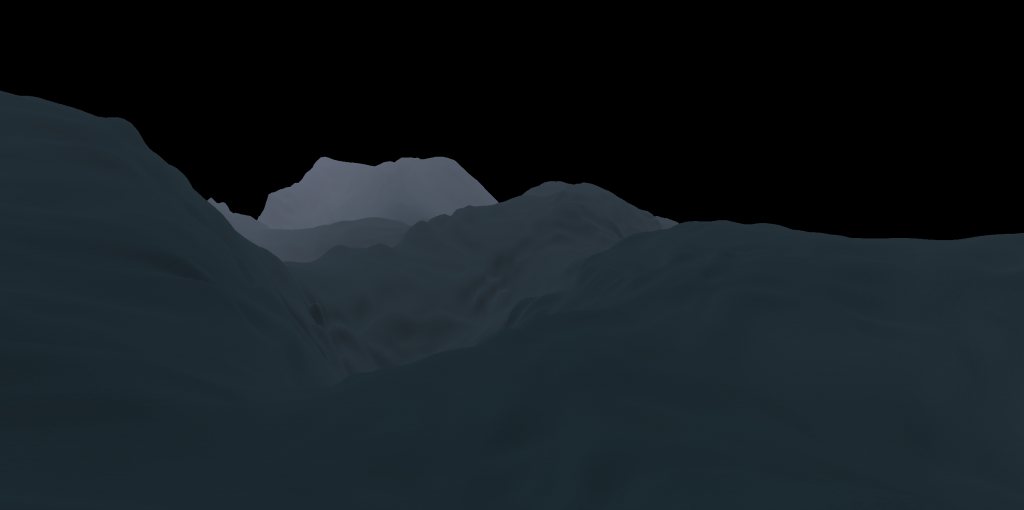
Afterwards I selected 3 different locations on the planet and initiated the “landing sequence”. What follows are the terrains, where one would actually land on the planet.
2. How I extract a quadratic 2D height map from a spherical surface
This was a though nut to crack. You may have noticed, that the planets look a little different now in comparison to the second post in this series. Well, I wasn’t happy with generating the geometry for every planet over and over again, since that part consumes a lot of processing power and time and just wasn’t elegant enough. So I upgraded that part to use just a basic sphere, where the same shape could be used for any newly generated planet. To give it the appearance of having landmasses, mountains and oceans, I implemented normal mapping (sometimes called bump mapping) into my algorithm for the procedural generation. Since I already went through the trouble to create a texture for the planet, it was only a little more effort to create a normal map for my planet model.
After the planets started to look “well enough”, I tried to figure out how I could get extract a quadratic height map from my sphere. Since I used a Mercator Projection (more precisely a equidistant cylindrical projection) it was obvious to me that I would need to rotate the projection to lineup the equator (where there’s the least distortion) with where I wanted to extract the height map. This took some experimenting, but in the end, my solution was to:
1. put a crosshair where the equator is with no rotation.
2. let the user rotate the sphere freely to find a suitable place to “land” on
3. take a quadratic set of coordinates that virtually lie under the initial crosshair position
4. retrieve the rotation quaternion of the sphere
5. apply the retrieved rotation quaternion to the quadratic set of coordinates
6. done!
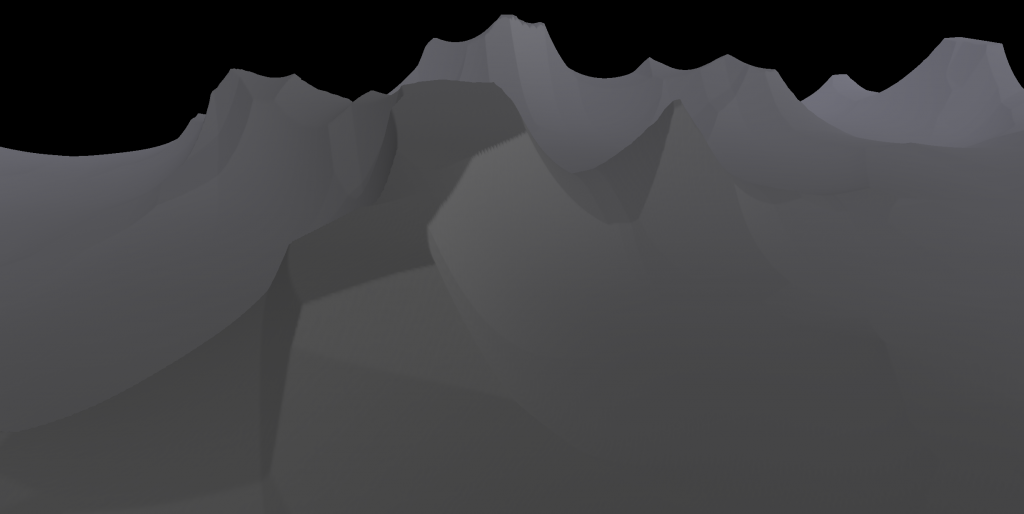
3. More noise necessary
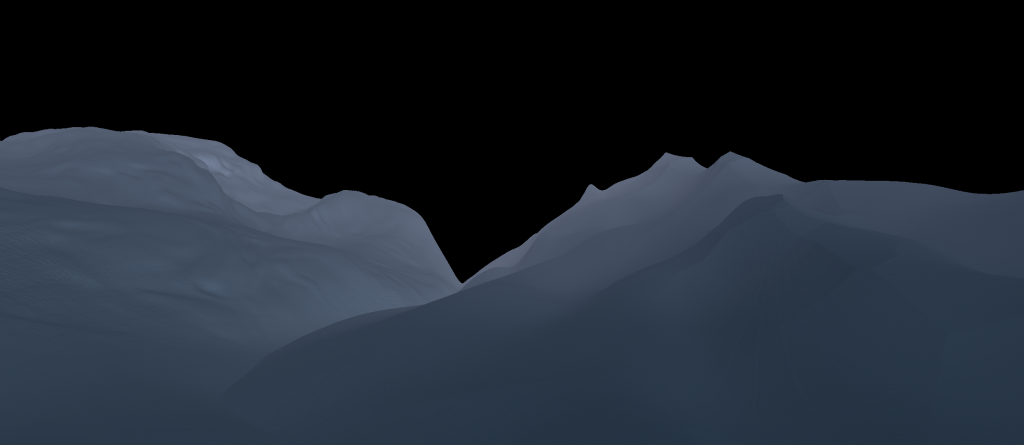
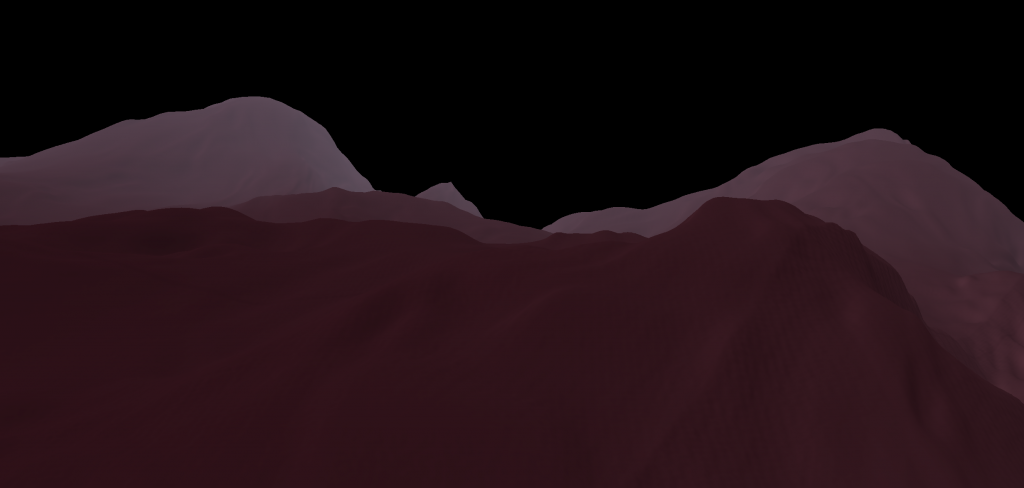
Well… Done is said much. It was a very boring view at first and it was clear very fast, that either I would have very small planets or something more needed to happen to make the terrain interesting.
More noise was the answer of course. I devised a plan to create something I called for myself “Local Noise”. Variations in the terrain that wasn’t visible from space, of course. What I came up with is this:
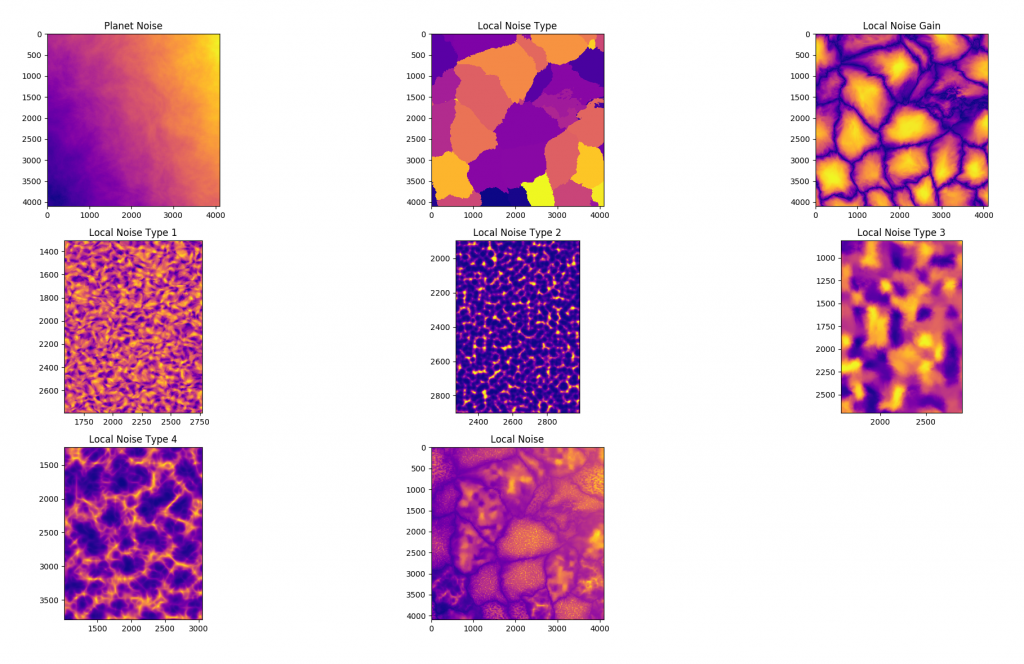
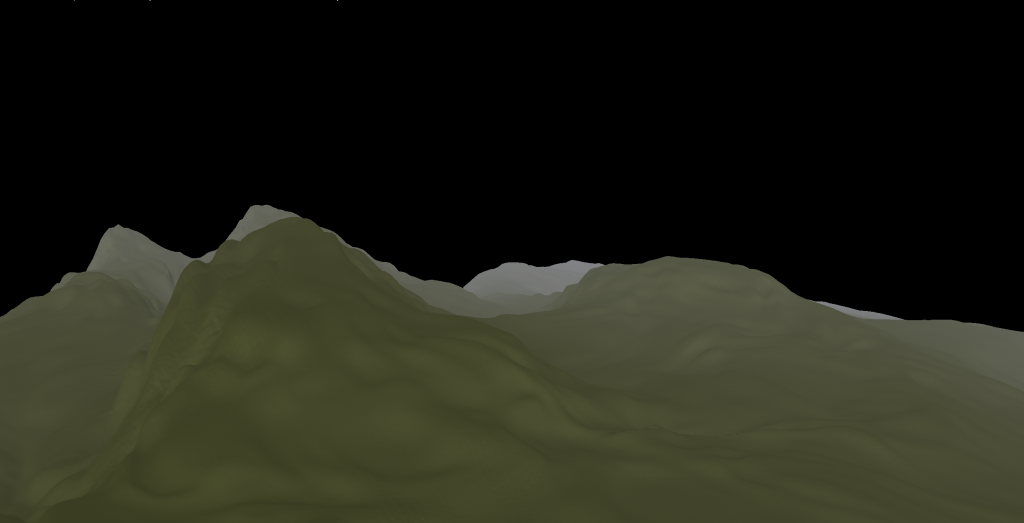
First row, left to right: The height map as it came out just reading from the planet, Worley noise to divide the whole planet in smaller areas and a means to blend the different regions so the change of terrain features isn’t to obvious when passing from one point to the next.
The following 4 noises are just an example, for how one, local terrain type could look like. The final image is all blended together.
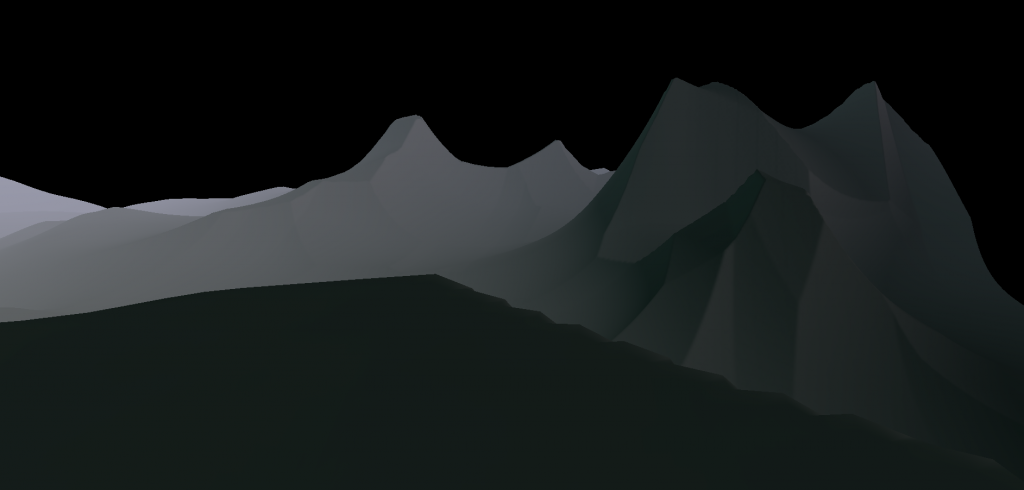
The final result is maybe not astonishing, but to keep up with the theme “well enough”:
Whats next?
This project has taught me a lot and most, if not all of that know how, will definitely come in handy in the future. I still plan to write a game from scratch and also finish someday. This day is not today, since this is neither a game nor finished.
I will go on using this project to enhance my skills. First I’ll finish the UI and the program flow so that also a user without the knowledge of the keyboard shortcuts used will be able to try this, then I’ll add some of the remaining elements that are missing right now (driving, physics, “plants”, obstacles, etc.) and finally I’ll try to package it and have it work on both Linux and Windows.
[Update: People using 64-bit Windows and feel adventurous can download and try the Prototype in the current state here]
To put some positive pressure on me, I entered the Extra Credits Holiday 2018 Game Jam
Lets see where that will take me, or if I even manage to submit something.